Tutorial 5
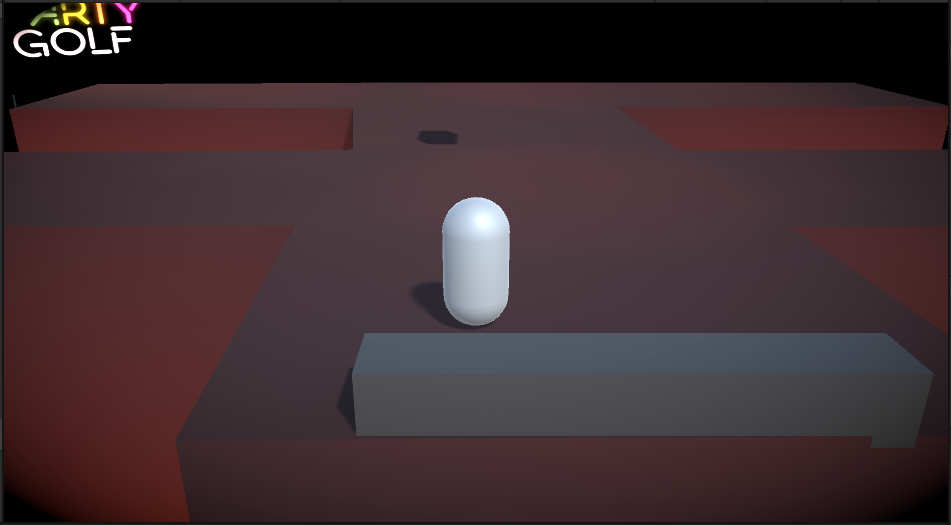
In this tutorial I used a pre-constructed scene to implement Cinemacine cameras and Post Processing effects. My scene required 3 cameras the first (pictured)
Focused on the Player (this white capsule) and followed it, this was achieved by using a Transposer camera which was made to follow and look at the player model.
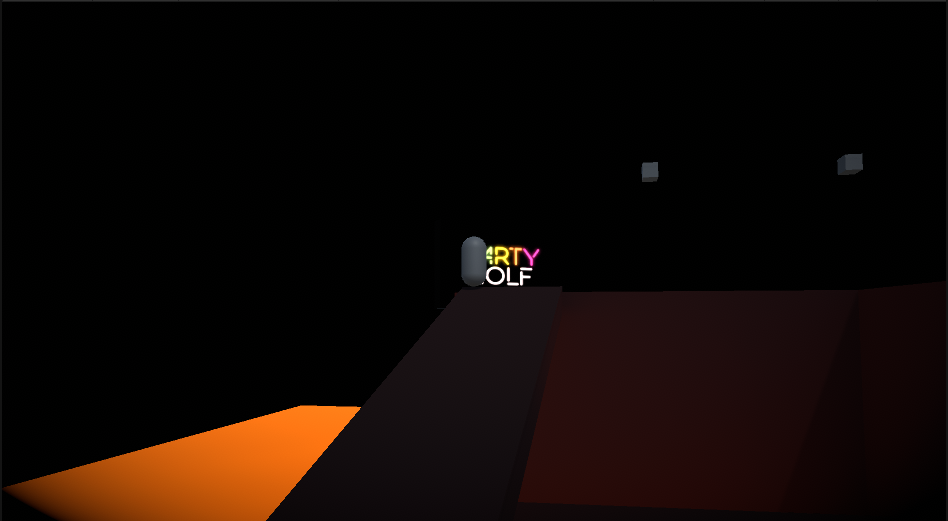
The second camera was a Dolly Tracked camera which instead of following the player actor directly instead runs on a rail system but is told to always look at the player actor. This transition is caused by the player actor moving through an Empty game object which has a box collider trigger which tells the game to activate this camera (pictured)
The final camera was a Target Group Camera which was told to focus on the player actor (at the top of the screen) and four enemy actors (at the bottom of the screen. Camera 3 (pictured)
Finally I created 2 post-processing effects one called global which placed a vignette effect on the main camera, which is what causes the darkened edges around the view points of all cameras. The second effect was a colour grading effect which was localized to the ramp that the actor travels down so only when the camera viewed through the box would the dark effect over the whole screen be apparent (as seen in camera 2)
Get UTAS KIT207 Portfolio
UTAS KIT207 Portfolio
| Status | Released |
| Author | brattus123 |
More posts
- Tutorial 1Jul 26, 2021
- Barrel and AttractionJul 21, 2021
Leave a comment
Log in with itch.io to leave a comment.